Thanks for visiting our new site!
Here are a few tips to get your projects going on the right foot. We've spent hundreds of hours working with our tapes, and have some great tidbits to share with you.
- Cut the first half inch or so off the roll. The cutting tools in the factory can leave a bit of oil on the tape, and the edge can end up not pressed down as tightly as the rest of the roll. If this edge gets some air exposure, it won't be quite as sticky as the rest of the roll. So...trim it off!
- Use sharp scissors, or even better, a pen knife (like an X-acto knife). A clean edge looks and works best!
- Clean the surface area where you're going to put the tape with a non-oil based cleaner. Wiping with rubbing alcohol works well, but make sure it's dried before application.
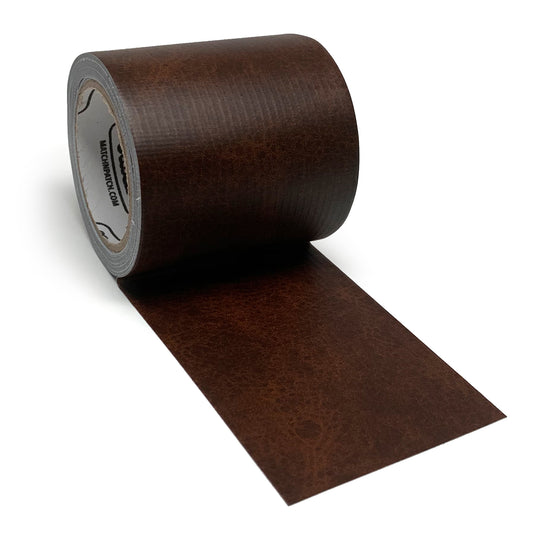
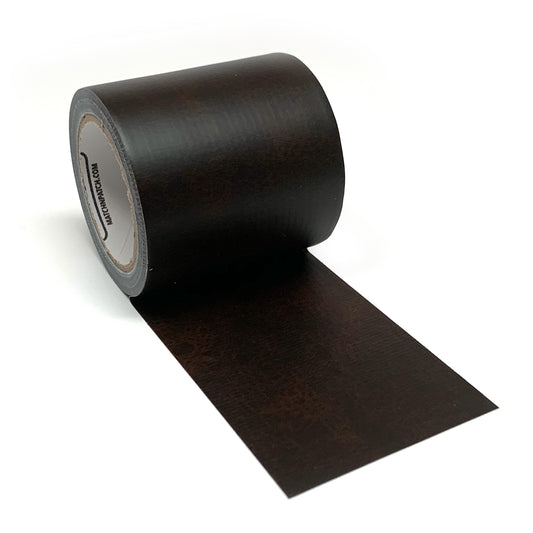
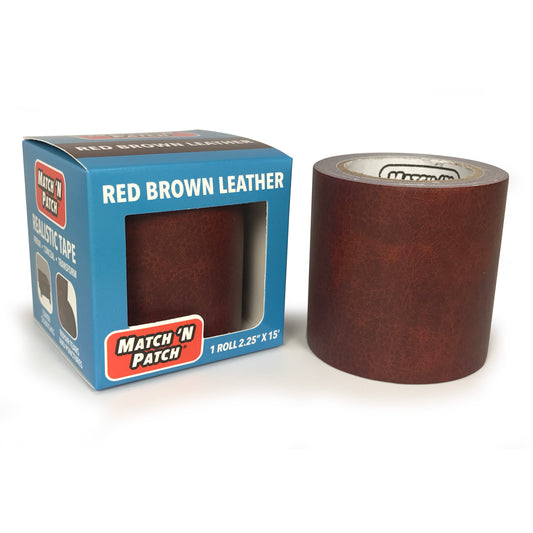
- Make sure most of the area is smooth and provides a good surface for adhesion. Match 'N Patch printed tapes are rubber-based tape and cannot be used on complex curved surfaces. If you try to apply it and can't get it to lay flat, then it's probably not a good surface for a repair. If you have complex curves try our synthetic leather rolls!
- Often it's better to cover the surface edge-to-edge lengthwise over a damaged area (like the barstool in the Red Leather product page) so that the narrow edges of the tape can be hidden along the edges of the object.
- It's generally best to lay the tape down from one end while maintaining a bit of tension as you smooth and flatten it down lengthwise. Make sure that there aren't air bubbles or wrinkles as these areas can end up losing adhesive strength when exposed to air over time.
- If you're using a sharp pen knife, you can pull the tape up slightly at the end of an application and cut it to length so that it lays down at just the right size.
- If you want to make specific shapes, or control the length of a piece of tape perfectly, then use parchment paper. Stick strips of the tape to parchment paper then measure or trace a shape and cut it out. The parchment paper acts just a like the release paper on a sticker. You just peel your shape off and stick it on!
- To make a large and strong panel of the tape, you can lay strips onto parchment paper as referenced above but overlap the edges by 1/8" - 1/4".
- If you make your repair and have extra tape left, you can use it for craft projects or save to replace when the patch wears out in the future.
- If you are using scissors, make sure to keep the blades oiled. You can use just about any kind. We use a bit of cooking oil normally. You don't need much at all--just put a bit on a napkin or paper towel and wipe the edges. This will prevent the tape from gumming up the scissors and makes it very easy to cut. You don't need much!
- Match 'N Patch is great for school projects or costumes too!
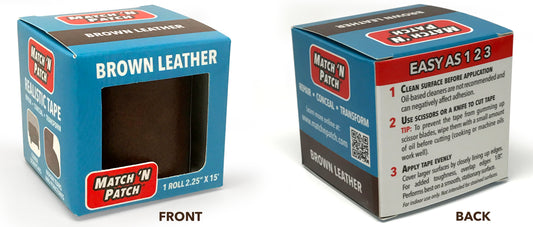
- If you have any other specific questions, please send us a message at inquiry@matchnpatch.com. We're happy to help!